Continuous integration and deployment for Microsoft Teams with Azure DevOps
When developing apps for Microsoft Teams you, of course, want to use the full power of Azure DevOps to create a CI/CD pipeline. There are numerous ways to do this but I thought I would write down the way I use it so that it might help you set this up. The example I’m using here is specific for a Teams app with a bot written in C#. In Node.JS there are some other tweaks but that’s for another time.
Adding your manifest to your solution
As stated in my previous blogposts I always add my Manifest and my 2 icon files to my solution. That doesn’t only keep them together so I don’t lose track of them, it also makes sure that when I turn over my project or if I’m working with multiple developers on something that everybody has the latest version because it’s added to the solution in source control.
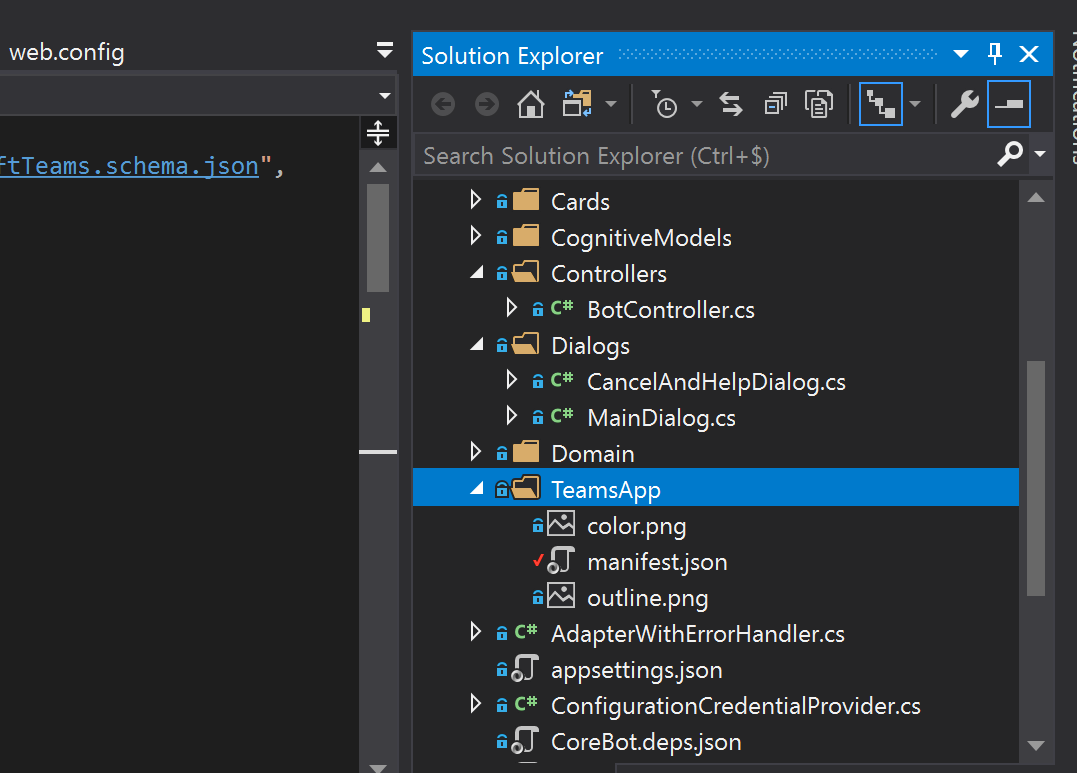
The 3 needed files for a Teams app are added to a folder TeamsApp
Don’t forget to write down the folder name because you will need it later in your Azure DevOps pipeline.
Azure DevOps Pipelines
One of the recent additions to Azure DevOps is that you are able to use YAML files to describe your pipeline. In this case, I used it to do my build, testing, and packaging. You can even go further and create your entire release pipeline here but for that, I still use the classic way. Why? Because I still am used to the classic release pipeline, and there a still some features missing that I need with my day to day tasks.
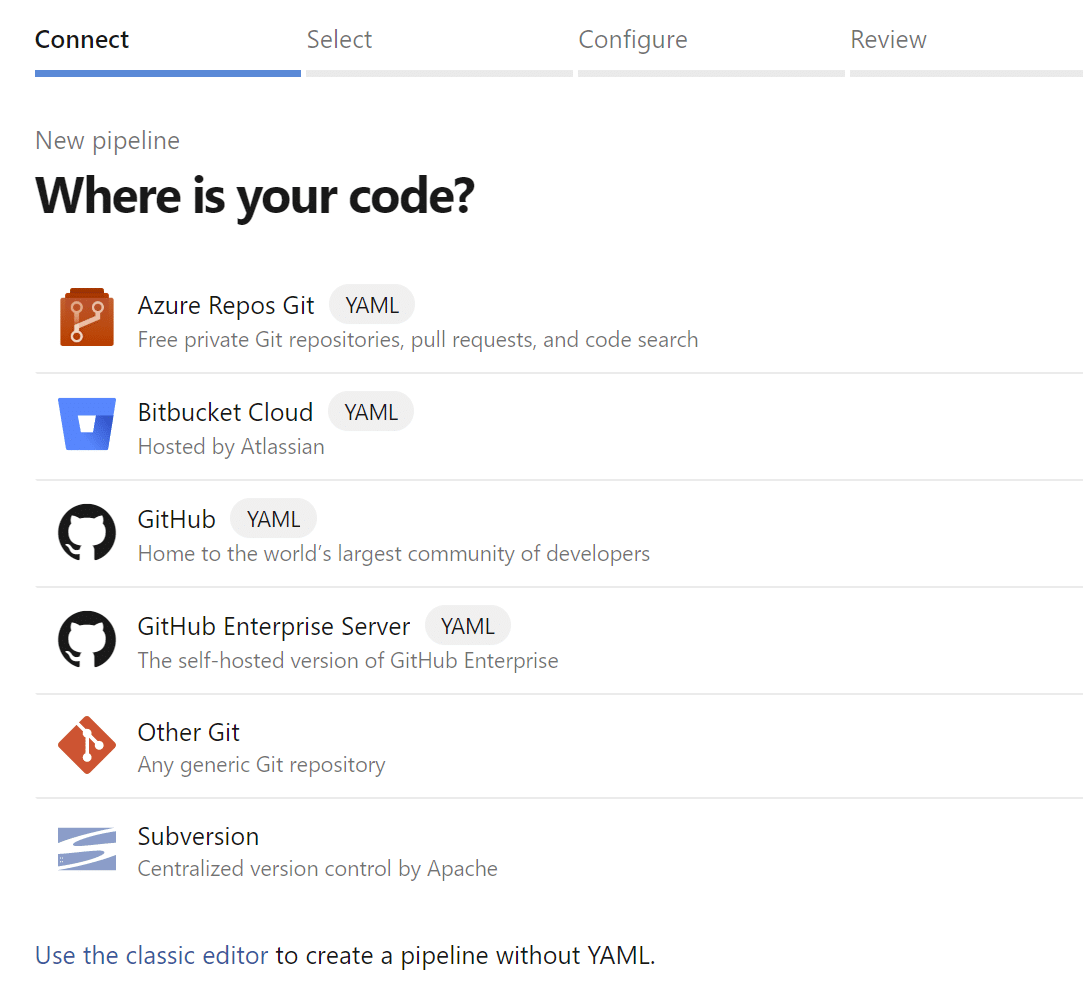
Now commit the latest version of your solution and go to Pipelines in Azure DevOps. Create a new Pipeline. Our code is in Azure DevOps so take the top choice.
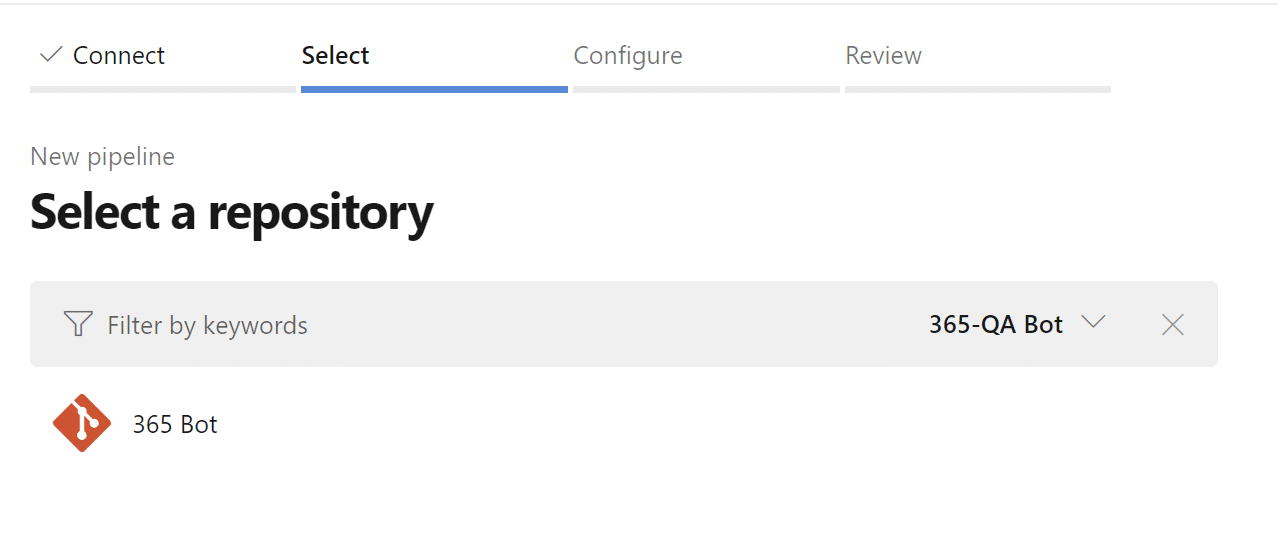
Select the correct repository. Since this is the only one I’ve got the choice is easy.
Then you can choose a starter template if you like to.
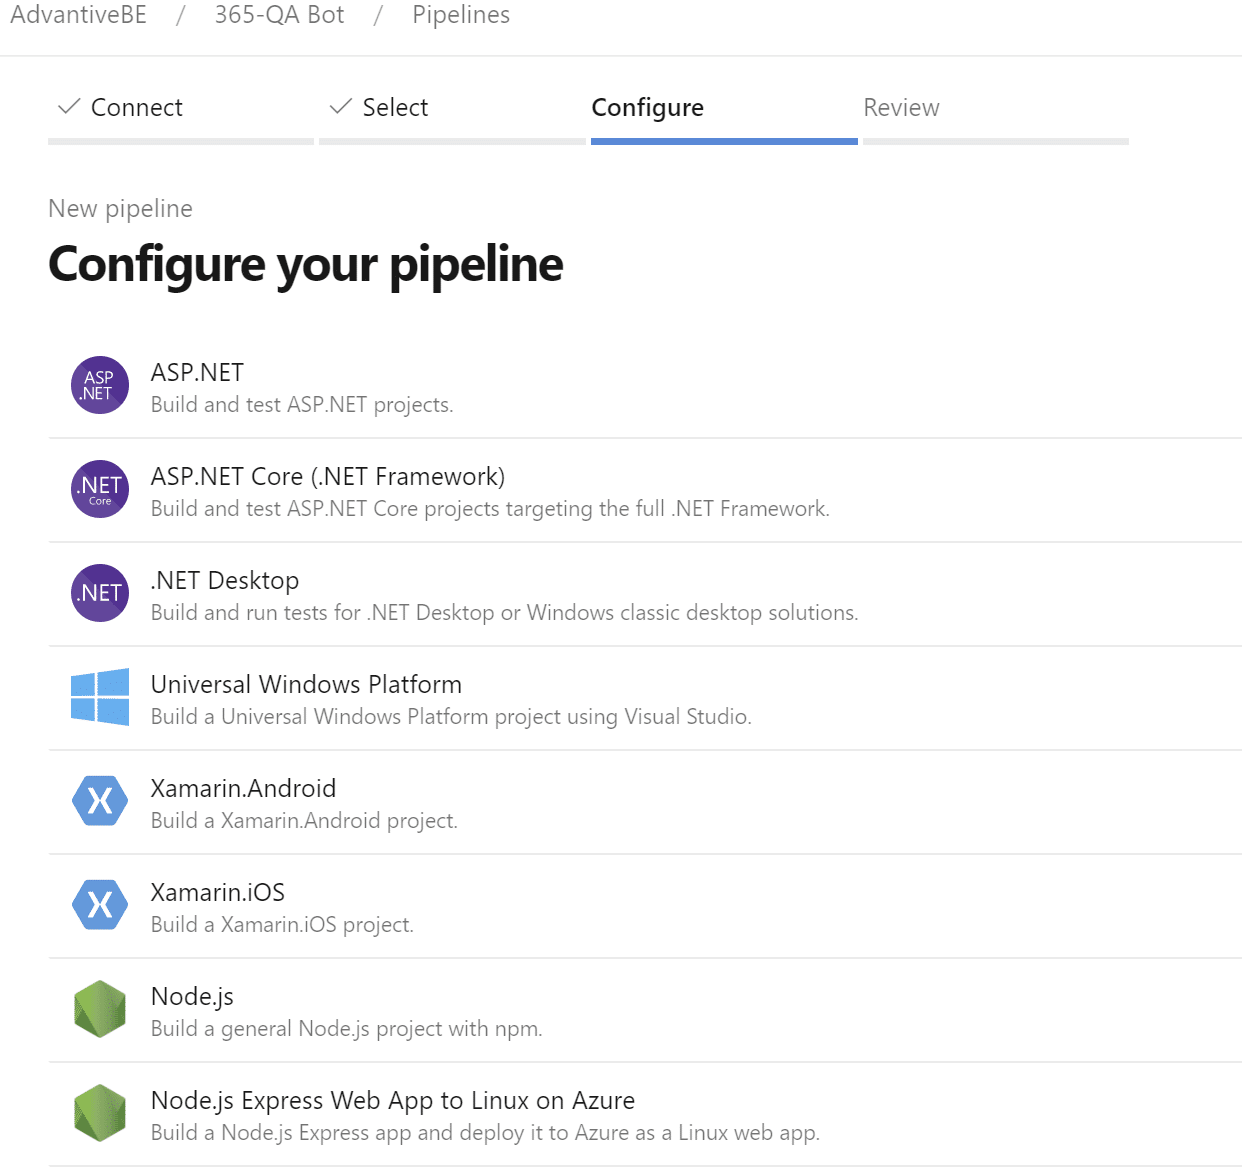
There are a lot of templates available
Since this is a bot framework V4 project then this is a .NET Core project, and you can start from this template. Or you can just get the YAML file from my GitHub repo, adjust the settings and use that one. The choice is up to you.
Configuring build, test, and package
The main goal of this pipeline will be to build our solution, run our unit tests, and prepare everything so that it can be deployed to your Azure environment (the code) and your Office 365 environment (the Teams app package). First off let’s configure our pipeline. If you took the template for .NET Core then you can just save and run and this will build your solution. But I’ve done some tests and running the default configuration for my simple solution runs for about 2 minutes and 22 seconds. This is way too long :-) Let’s optimize, and of course, no Teams app package is created by default.
Change the pool (this is the OS the build runs on) to run on Ubuntu. We are going to use the .NET Core CLI to restore and test our solution. The only thing that is Teams specific is the “ArchiveFiles” task. Remember the folder with the manifest and icons that I added in my solution. This task will take those files and zip them to create a Teams app package.
With our pipeline done we can commit this to our solution. That’s the cool thing about YAML files. The build pipeline is directly available in your solution so should you change repository then you bring your CICD with you. The build should trigger automatically and succeed in a lot less time than the original one. Now the above one is simplified because you can also add stages and jobs. But that’s for another time.
Release to Azure and Teams tenant
First, we need to release our code to run in Azure. I already have my bot registration and website running. When building bot’s I like to start off with one of the Bot Templates provided by MS. Just to have the latest packages and because everything is created for you instead of manually clicking in 100 different places. Create a Release pipeline and choose the default “Azure App Service deployment”. This will deploy your code to the Azure app service where our bot is running.
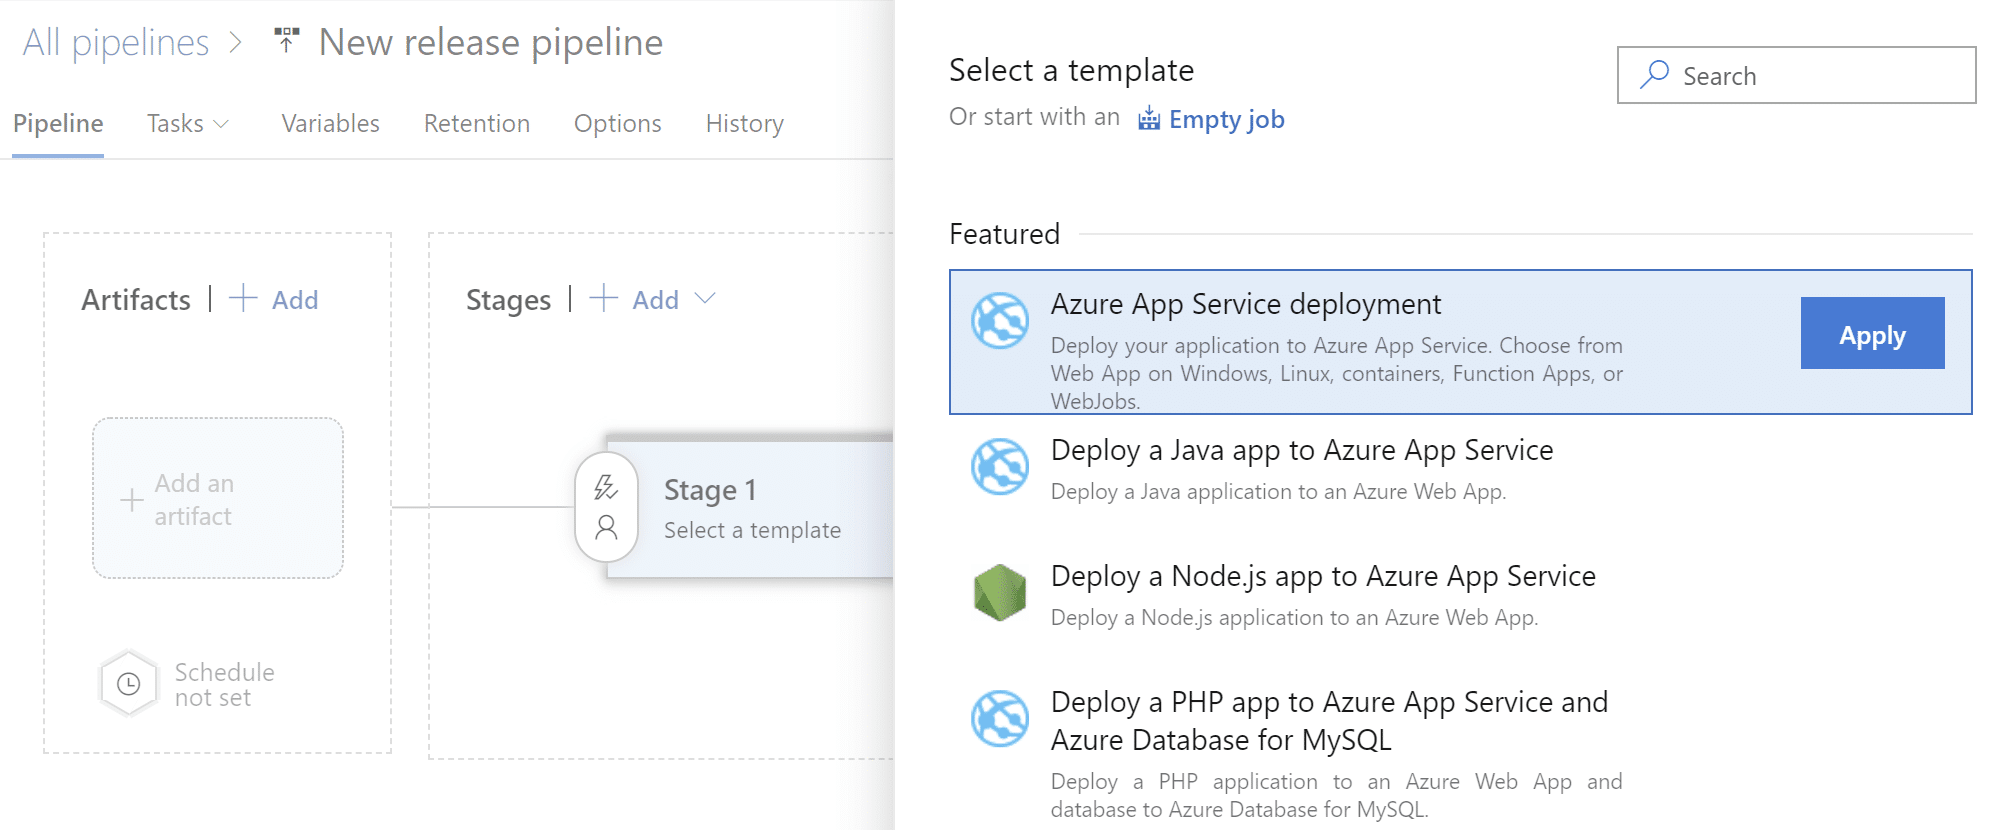
Release starter template
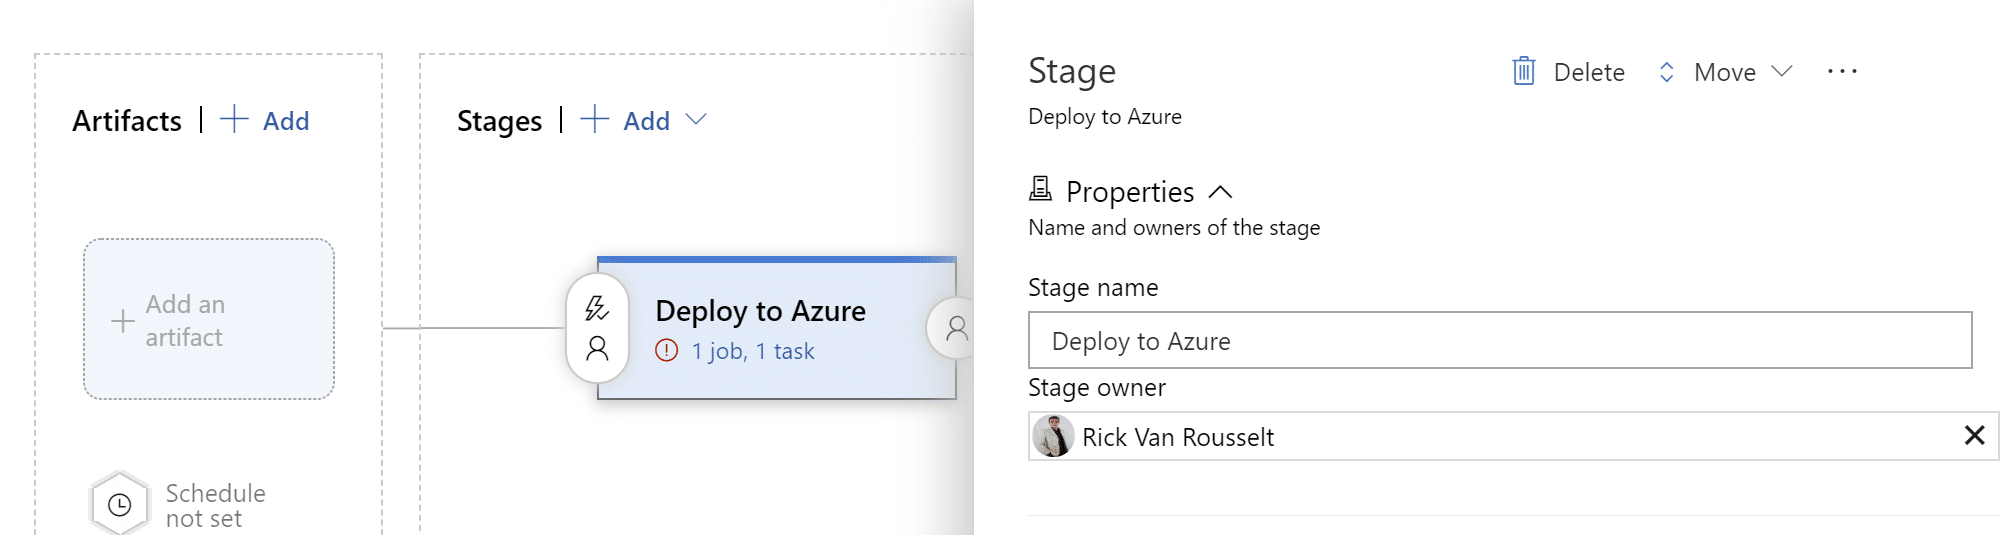
Give your first stage a meaningful name
After creating our first stage we need to configure which build needs to be deployed. Click on add an artifact and select the artifacts from the earlier build.
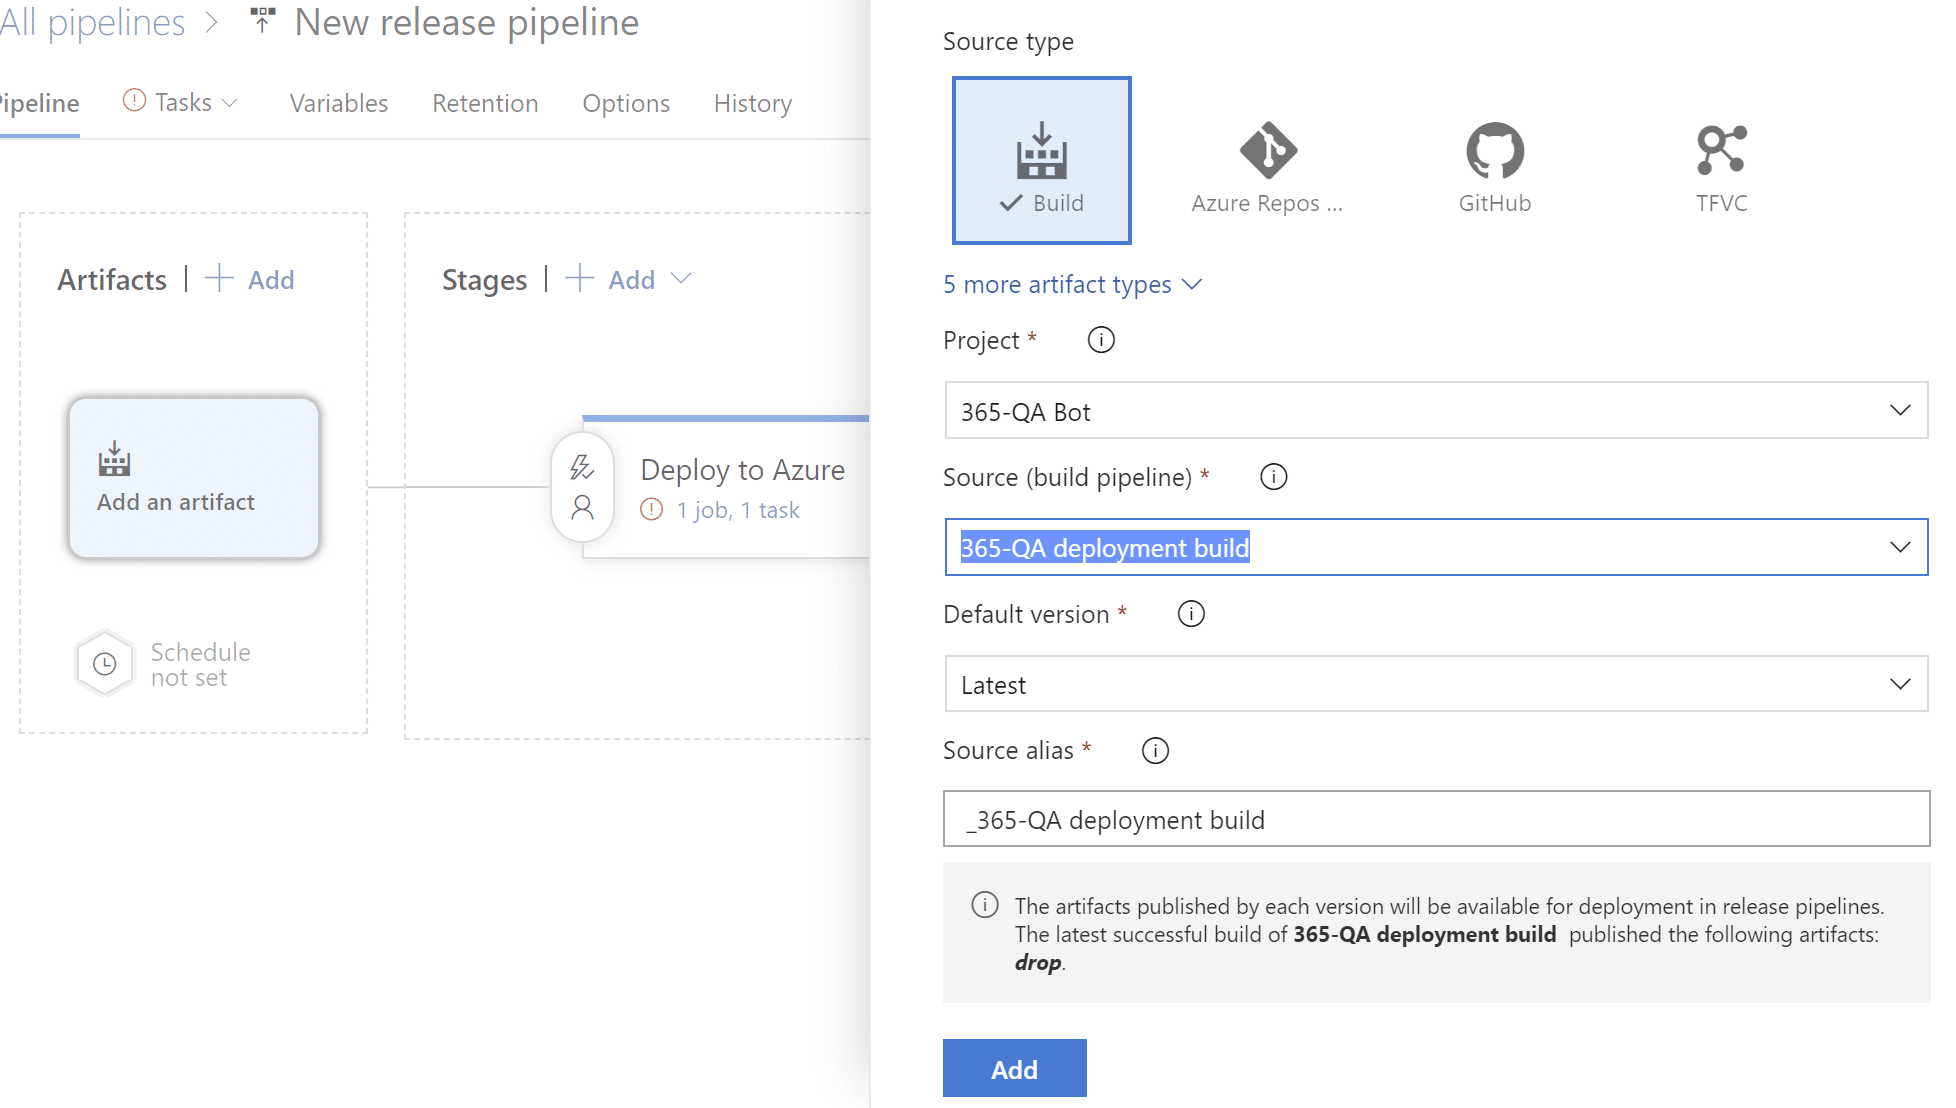
Select your source pipeline and the default version you would like to see deployed
Now click on the tasks that belong to the first stage. This is a pretty simple one. Just connect with the correct credentials to Azure and select the web app where you want your bot deployed. After this is configured your code should be deployed to Azure. Now it’s time to create a new stage. This stage will deploy our Teams app to our tenant. This will consist of 3 tasks. We will use the Office365 CLI to complete the task. This particular task was created by Garry Trinder so all credits for this go to him. If you have some time on your hands I would strongly recommend helping out this awesome community project. It helped me out on several occasions.
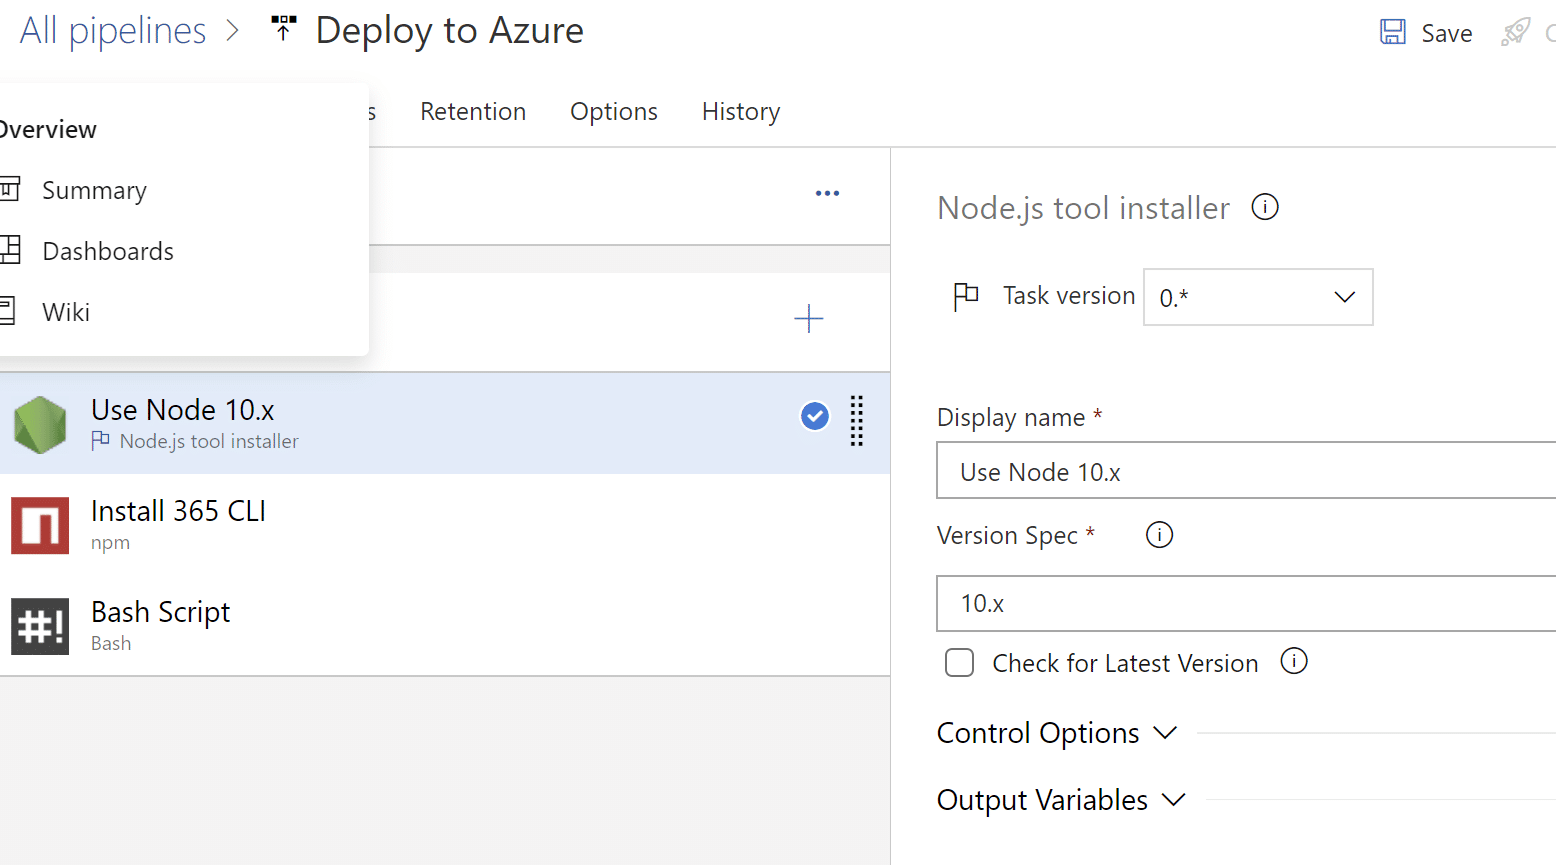
First, off we need to install node so add the task “Node.js tools installer” and install V10
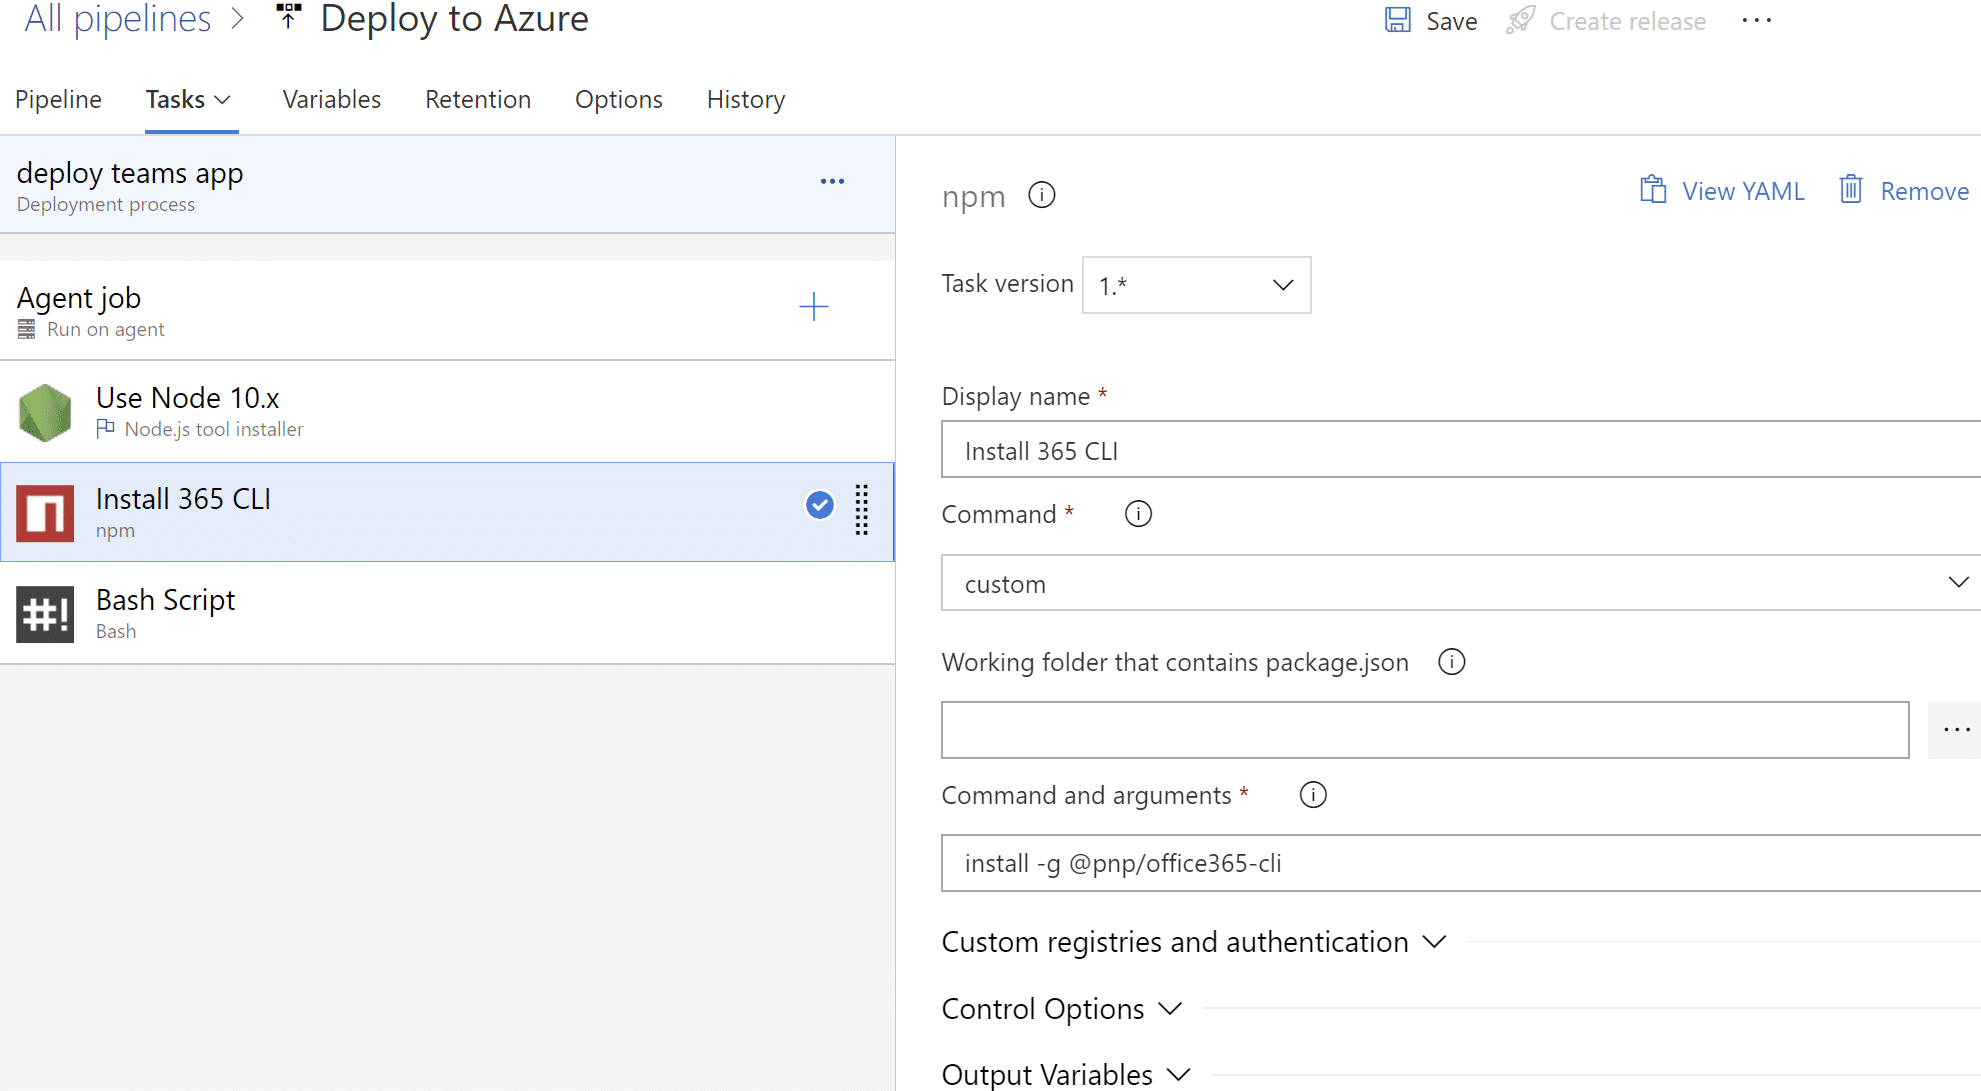
Then install the O365 CLI. We can do this with the “NPM” task and the command “install -g @pnp/office365-cli”
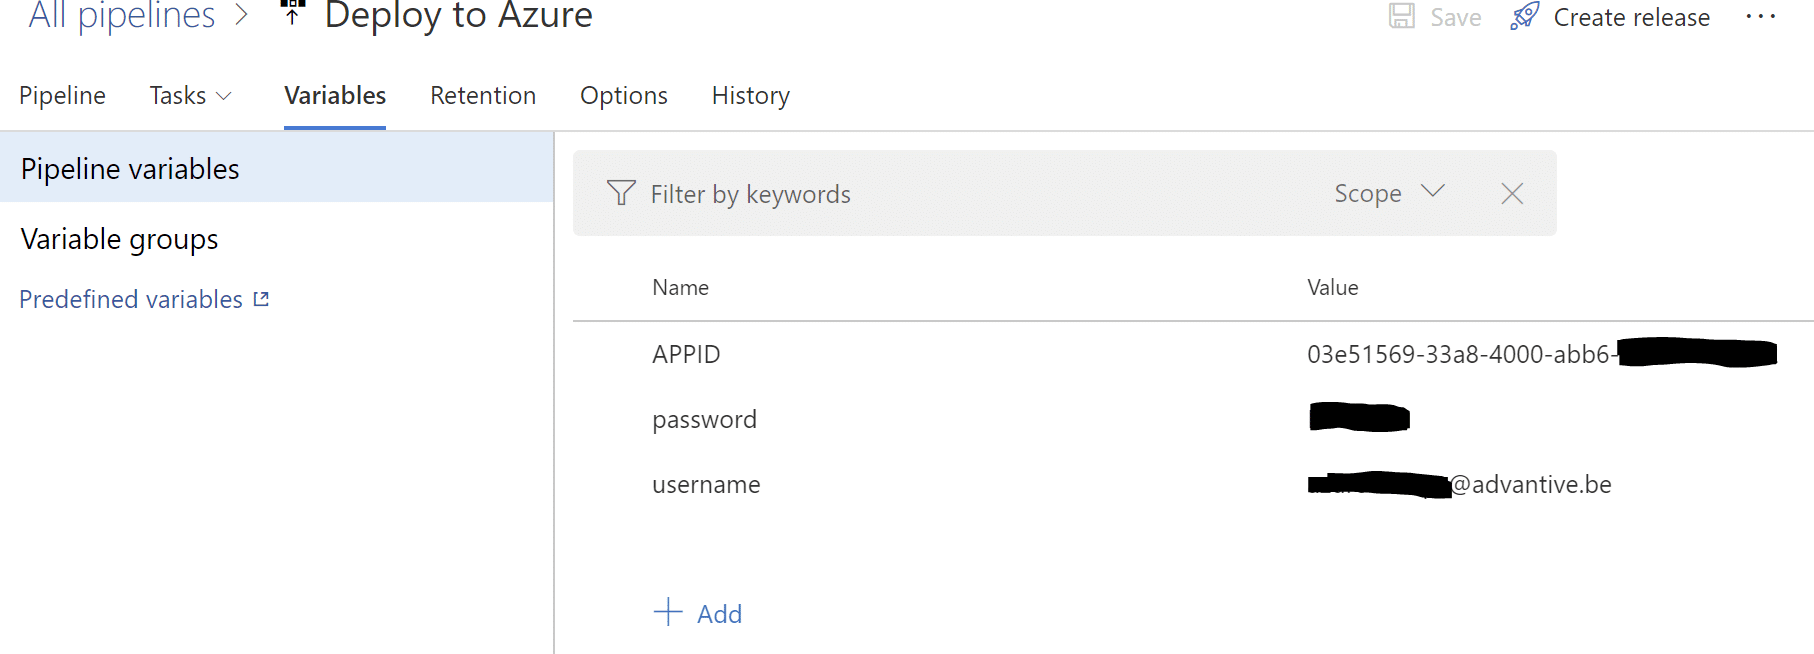
Now the magic is in the last bash script. This will connect to your Office 365 tenant and will update the Teams app. You do however need to add some variables to the release pipeline to make it work. Username, password and appId. Also if you named your Teams app package a different name then I did then you need to change the script a little bit.
Notice that the directory the zip package is in is what you specified when configuring the artifacts of the release pipeline. " _365 Bot deployment build/ " is the alias I specified in that step and “drop” is the name of the folder specified in my build YAML file. After all, this is done you can tweak your pipelines a little bit. For instance, set it to automatically release and deploy when you do a pull request on the master branch. And don’t forget to upgrade your Teams app version once and a while 😊 because that doesn’t happen automatically in this CI/CD pipeline.